Well they arrived this morning, and I took some pictures to show the installation process - once again my car is a pre-LCI E90, with LCI Halogens
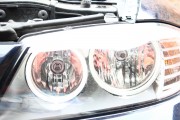
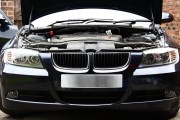
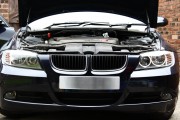
So the stock LCI Halgoens look like this:

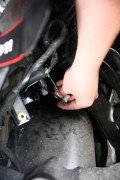
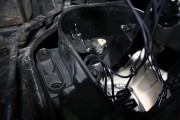
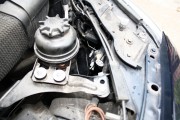
I was going to try fitting these through the access flaps that are in the front wheel arches, however the flaps are kind of in the wrong place to give access to where I needed to get too.. The passenger side of the engine bay has lots of room, no need to remove the wheel arch liner or anything else!
Passenger side of the car:

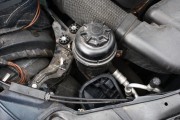
Rear of the light cluter:

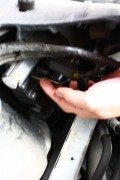
Pull down the metal retainer clip, to release and remove the plastic cover:
This the the OEM angel eye bulb holder:

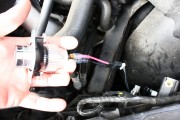
And the connector that clips onto the OEM angel eye bulb:
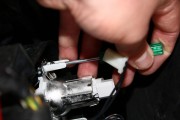
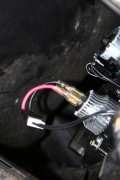
This picture shows the new LED unit, connected to the OEM power connector using the adaptor that is included with the product mentioned at the top of this thread:
Testing the LEDs work:
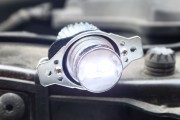
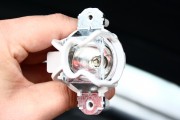
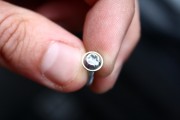
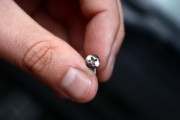
Removing the OEM angel eye bulb unit:
The OEM angel eye bulb close up:


you can see here where the OEM one lived, and where the new LED unit will go:
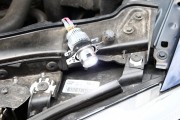
now this is the OEM screw that holds the OEM angel eye bulb unit in place, its a torx? use the green screwdriver that comes with the kit to unscrew this:
this is the one of the four new screws that came with the product, as you can see its not a torx screw. not a big issue, but I couldn't find a screwdriver small enough at home to fit in the tight space of the drivers side of the car/engine bay:
the new led unit plumbed in:
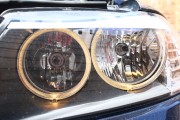
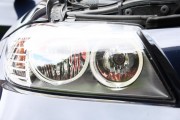
some pictures of the new LED angel eyes:
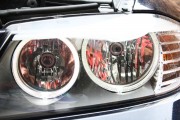
comparison of the OEM angel eye (LEFT) and new LED unit (RIGHT):


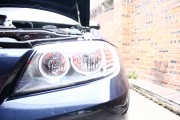
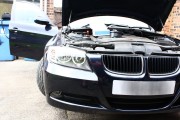
angel eyes switched off:
the drivers side angel eye is switched off (power disconnected to it), the passenger side is the LED unit:
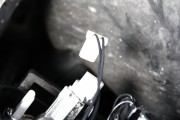
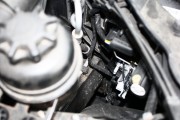
This is the driver side of the engine bay. A lot less space! But still possible to change the angel eye light unit over without removing any wheel arch trim. Once again the flap thats inside the wheel arch is of no use:

here is the flap inside the wheel arch by the way, just for reference only:

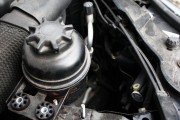
Now the black container (brake fluid?) was getting in my way, so using the 10mm socket that was included in the pack, I simply removed the nuts, and moved it over to make more room:
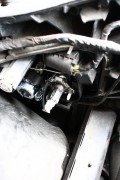
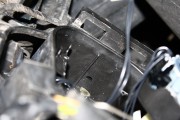
Removing the plastic cover from the rear of the headlight cluster:

The angel eye light unit can now be seen, in the fairly tight space:
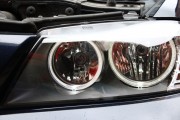
Both LED angel eyes now fitted:

So I hope these pics and the write up helps, I would advise before you start that you find a philips screwdriver thats of a similar length to the green torx screwdriver was was included in the pack - as space is tight on the drivers side of the car
my other tip would be that the plastic wheel are covers can be pushed out the way (they sort of bend), as my philips screwdriver was double the length of the torx screwdriver I had to force/persuade the wheel arch liner to bend out my way
good luck guys, I will get some pictures later when it gets dark. It was overcast today when these pictures where taken, but was quite a fairly bright overcast day, so the angel eyes are visible when looking at them, but obviously not ultra bright like the new BM angel eyes / audi DRL lights

Im happy though!
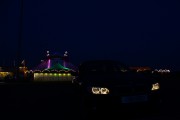
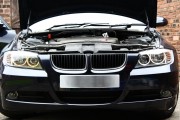
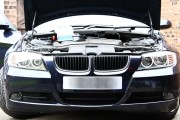
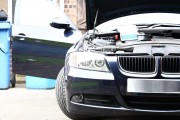
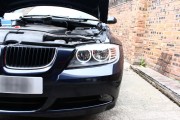
Oh and just one more picture: My car outside the Moscow State Circus, with the OEM angel eyes on. Taken last week ;-)